I had an issue with my Hotpoint-Ariston ARMXXF145 washing Machine.
During a washing, the washing machine's drum has stopped to rotate, the machine was full of water, it was 2 years ago, maybe with the error code F02 (was 2 years ago, I do not remember well).
Diagnostic
I suspected the motor's brushes.
For the test, umount the back of the washing machine, and you can take a hammer, and bit the motor (smoothly) to see if it restart (not that long in general), here were to bit:
Change the brushes
Prior ordering new brushes you need to be sure of the models you need to order.
In my case, the one proposed by the spares vendor was the wrong model! Several models of motors are used for this machine! So be careful and study the picture on the spares' vendor website.
First you have to unmount the motor.
Remove the belt (washing machine disconnected from the power...).
Then remove the 2 screws fixing the motor, see below:
Then remove the motor from the machine, I think I have put my machine like that to extract the motor, but I am not sure, was 2 years ago:
You can now see the reference of the motor, in my case it was a Nidec motor:
To unmount the brushes you need a 5.5mm hexagonal key... I did not had one... but at Action you can find cheap tool:
It was far cheaper 2 years ago (screenshot done in January 2023, Action France)!
Now you can remove the 5.5mm hexagonal screw of each brush (2 per brush), see below the red arrows:
Once removed, you can see they are used (one is more used than the other as closer to the motor...):
Here is the reference of the brushes I ordered for my Nidec Type 20584 453 AC-EL:
Exact reference for my "Nidec Type 20584 453 AC-EL" was 481281719419 or C00114885 (leads to the same model) and I paid 9.75€ incl. shipping. But check you have the right motor.
Then you just have to the inverse to remount everything.
Be careful when you fixing the motor on the drum, drum is in plastic, do not force too much.
I have bought a cheap chronometer for my daughter, for school's reading exercises.
But when powering the chronometer with the button, it was starting one time out 10, sometimes I could force the starting by moving the battery... odd behavior for a brand new chronometer... I have decided to open it to see what was wrong.
The opening...
What I have discovered was horrible!
Only the pads with a signal on it were soldered, and 1 pad out 2 for the battery's contacts !
Even worst, the 32kHz quartz (extremely sensitive part) pads ware on a PCB track (not shown on the pictures as I have bent the pads)!!!
The solution
I have re-soldered all the component pads and solder the pads that were not soldered before.
I have cut the all the component pads (especially the one of the quartz) to avoid any disturbance or short circuit with the PCB board.
After that, the chronometer was working fine (but quite slow to start, around 1 second...)
I paid 309.98€ (incl. shipping) for a HOTPOINT LFF8M116XEU dish washer in june 2018:
This dish washer has a nice design but after 2.5 years (out of warranty), it started to loop forever 31min before the end of a program, e.g. the washing program never ended!
The root cause
The guilty part was the door opened sensor (I had door opened detection during the washing cycle).
The door get deformed due to heating and then the sensor detected the door was opened and the dish washing program loop then forever 31min before the end of the program.
It is a simple contactor that cost less than 1€... but this sensor is in the lock system, so you have to replace the whole lock system:
This plastic piece costed in beginning of 2021 more than 40€ including shipping e.g. more than 12% of the price of the dish washer.
Now (January 2024) it seems the price is lower (around 24€ incl. shipping), anyway I doubt it will solve the issue if you change it.
My parents' dish washer did not had door opened sensor in the 90s.
Dish washer does not consumes that much water, so even if the dish washer starts with the door is opened you will not have that much water in your kitchen...
My ugly hack was to cut the 2 wires going to this sensor and solder them together. Put thermoresistant Tube Heat Shrink on this soldering (to isolate) and your dish washer will never loop forever before the end of a program.
Conclusion
This ugly has solved my issue with a program looping forever before the end with no issue (hack done in February 2021 and no issue so far in almost 3 years)
Anyway you have to keep in mind the dish washer will start even if the door is opened (will put water on the floor).
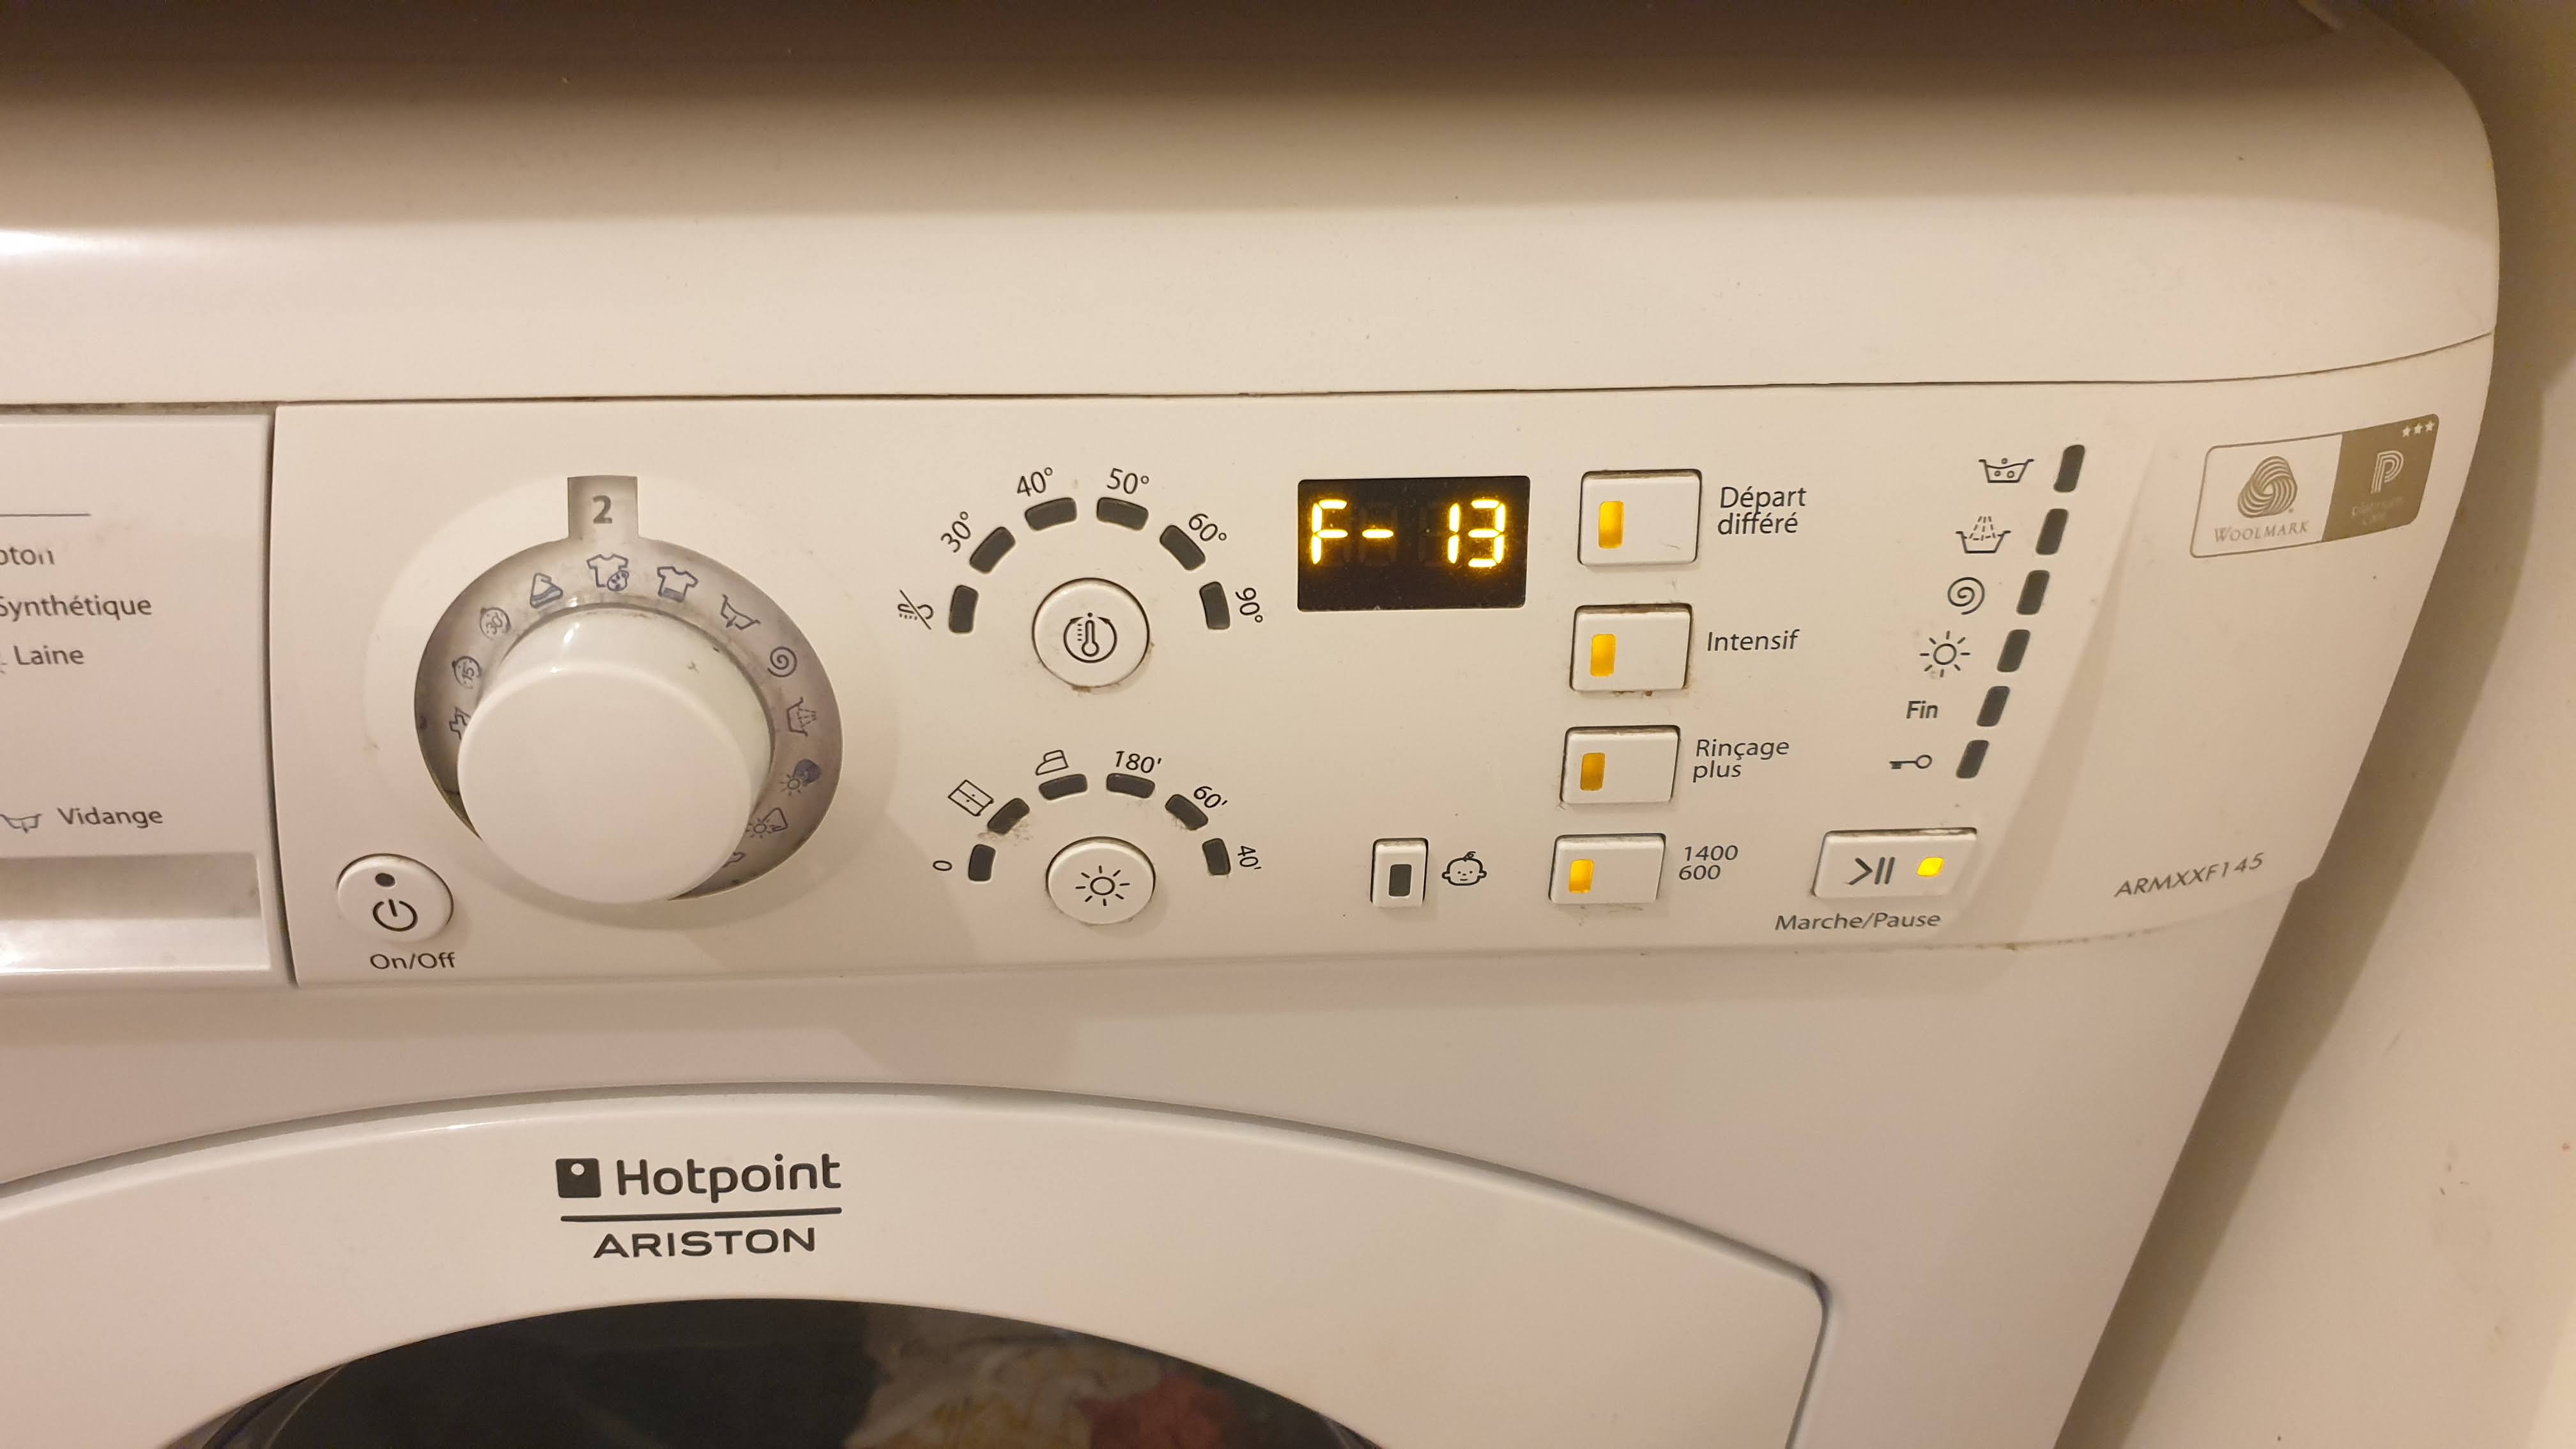
One day I have had the error code F13 on my Hotpoint-Ariston washing machine.
After a search on the Internet I have found it was due to a temperature sensor but for the drying function and not the washing (we never use the drying, as it is not efficient). Anyway it was blocking the whole washing machine even if you did not use the dryer... of course this issue has occurred just before vacations...
This was done on an Hotpoint-Ariston ARMXXF145, but should work for all the Whirlpool brands (Hotpoint, Indesit, Ariston, etc...) as they shared similar electronics or even the same.The hack
The sensor is a simple NTC temperature sensor that cost around 3€ but it totally blocks the machine if broken.
A NTC temperature sensor is a simple sensor based on a resistor which have a variable resistance according to temperature.
The hack is to replace the NTC by a simple resistor that will give a fake temperature value (around 20°C).
In my case the NTC sensor reference was a c00083915.
This NTC can be replaced by a 20kOhm resistor, thus the washing machine will think you have a coherent ambient temperature. Thus you can use your washing machine (but not the dryer...) till the replacement part arrive.
Now you need to unplug the washing washing to avoid any electric shock. You have tutorials on Youtube to unmount your washing machine, you just need to remove to top of my washing machine
In my Hotpoint-Ariston ARMXXF145 washing machine, the sensor is as below:
Unmount the sensor
To unmount the sensor you need to remove the big metallic part (piece where the hot air is blown):
You'll have to rmove a lot of screws (some are maybe hidden behind the metallic plate, some screws are certainly missing...):
Once you can remove the sensor and unplug it to get it (in this order... it is safer):
Modify the NTC sensor
You need now a 20kOhm resistor.
What I did is I saw the sensor as below to remove the metallic part (where the NTC resistor is located):
Once done, you'll see 2 metallic pads, you have to solder on those 2 pads, then add thermoresistant Tube Heat Shrink to isolate (avoid short circuit), you can see how the resistor is protected (not visible) by the thermoresistant tube:
Now you can mount the sensor back in your washing machine. no need to put it back at its place, it will always send the same value...
Conclusion
With this hack you can now use your washing machine but DO NOT USE THE DRYER.
I have a Delonghi Magnifica S Coffee Machine with mechanical button to power-on. To get the coffee machine up-and-running it lasts around 50 seconds due to the cleaning and init procedure. It is quite long, especially in the morning, 50 extra seconds in bed in the morning is important.
The idea is to power-up the coffee machine from my bed. I could have done this with an ESP8266 or ESP32 through Wifi, but I wanted a simple solution with just a remote control, not an high tech solution but a low tech!
On Aliexpress you can find simple 5V remote controlled relay + 3 remote controls for less than 10€ such as this one I used: https://s.click.aliexpress.com/e/_EGSEwBj
It is quite easy to do on my Delonghi Magnifica S as the power button is mechanical (could not work if it has been a capacitive touch button).
Thus you'll simply need to find the GND, a +5V and the power button, and solder wires.
The relay will be soldered in parallel of the power button.
Disclaimer
By modifying your coffee machine you'll lose your Delonghi guarantee.
You'll work on a 220V coffee machine, you must be aware of the risks of working with 220V
Materials needed
Soldering station
tin wire
Multimeter to check voltage on your coffee machine
I have a 87m² flat. Not that big, but the kitchen is at the opposite of my bedroom with several concrete or plaster walls. I wanted to be sure the remote control was powerful enough to cross all my walls.
I powered the module with a 5V supply, paired the remote controls with the receiver and tested:
Dissassemble the coffee machine
First unplug the coffee machine and wait several minutes to have all the capacitors discharged.
You can find good videos on Youtube explaining how to dissasemble your machine.
My Delonghi Magnifica S use specific screws to unmount the back. You need a "star" screwdriver with an hole in the middle, you can find .
You need to unmount also the control panel.
Find where to solder the wire in the front panel
First you need to find where to solder the 4 wires.
Put you multimeter in continuity tester and find on the 2 pads where you'll solder your relay output. Simply put your tester between 2 button's pad and when you push the button your multimeter should beep.
To find the +5V and GND, ne careful, you must power the coffee machine!!!! Put your multimeter in voltage measure and measure each plot on the PCB, on my coffee machine there are 2 plots close to the connector where I can find the +5V.
Unplug again the coffee machine and wait several seconds all th ecapacitors are discharged
Drilling the PCB to pass the buttons wires
Why drilling the PCB?
...because all the buttons have a plastic cage on the top of them, I tried first to put the wires as below but then you cannot close the control panel:
What you need is to drill the PCB board to pass the 2 wires in the hole.
First check the PCB is as mine, e.g. single layer PCB. If you have a multilayer PCB.
Check where the plastic cage is, find in the PCB board where you can drill a 2.5mm hole without drilling any PCB trace. Drill gradually your PCB, e.g. strat with a 1mm drill, then 2mm, etc... to ensure your hole will be at the right place:
The soldering
You have 4 wires to solder.
As the wires are not long enough, you'll need at least to extend the 2 button's wires and protect the solder with Thermoresistant Tube Heat Shrink.
Check again your coffe machine is not powered.
All the wires will pass through the already existing hole of the existing ribbon cable. The 433MHz receiver will be located behind the top right corner of your machine as there is plenty of room:
Solder carefully your 4 wires as below for the button:
And as below for the power:
You can power you coffee machine and do a test with your remote controls.
Once working, unplug your Delonghi coffee machine and remount all you have dissassembled before (you have plenty of tutorials Youtube).
Now you have the power button of your Delonghi Magnifica S remote controlled: